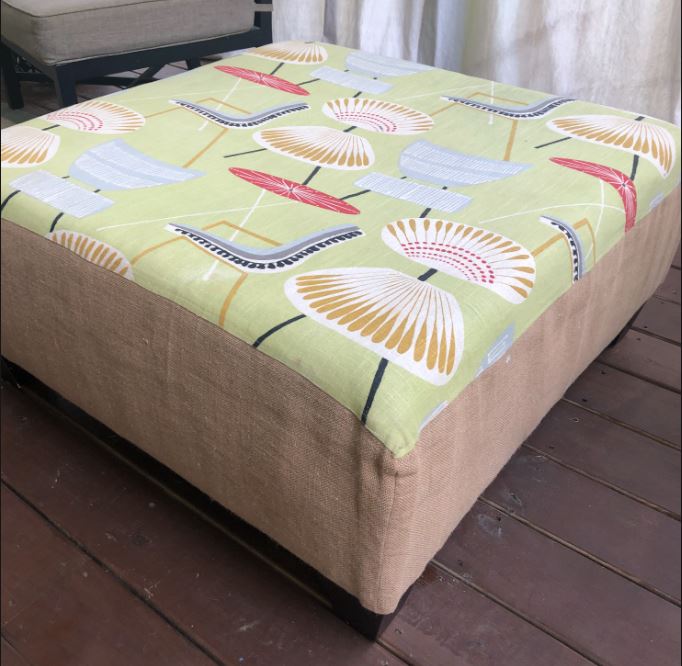
Ottoman Makeover! My first attempt at painting fabric.
So I had this ottoman that my mom helped me recover in a cute way to use in my kids play room but since I have moved and my kids are teenagers it didn’t go with anything anymore. It was not an easy process to recover and I was not looking forward to doing it again. So, I started looking for options for a cover. In the process of my Pinterest searching I saw posts about fabric painting. I thought this was a crazy idea! However, the more of it I read the more I decided this would be a great piece to experiment with. The biggest things I was worried about was it being comfortable and holding up. The biggest thing that I saw that the fabric got stiff and more like leather. For an ottoman that is okay!
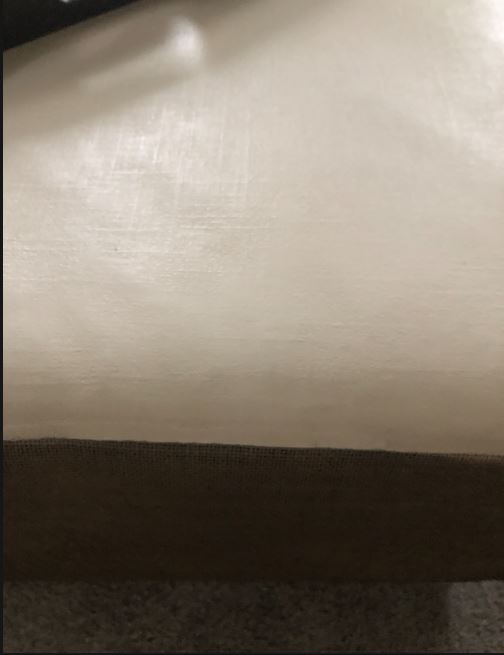
The first thing to do is to wipe down/vacuum your upholstered furniture piece. In my case I didn’t want to paint the sides so I put some painters tape around the edge to protect the sides. Then you need to use a spray bottle of water to damp the fabric so that the paint will adhere to the fabric as best as possible.
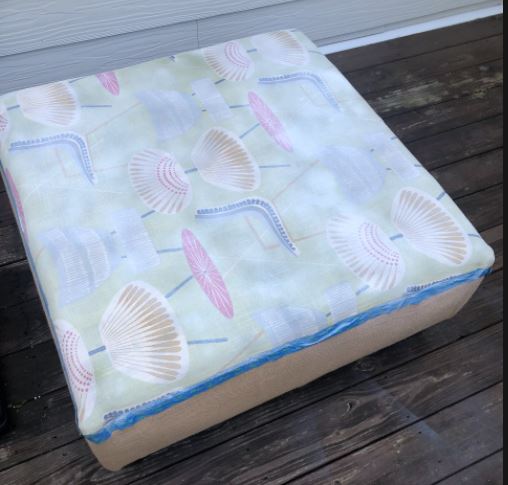
For the paint: I tried to spray paint first with a chalk paint. I did two coats and this is all the coverage I got. I then got a latex based paint that I used two parts paint to one part water as a mixture that I used a brush to apply. The fabric really soaks it up. The most important thing is to let each coat dry well and then sand it down with a 400 grit sandpaper to soften the fabric.
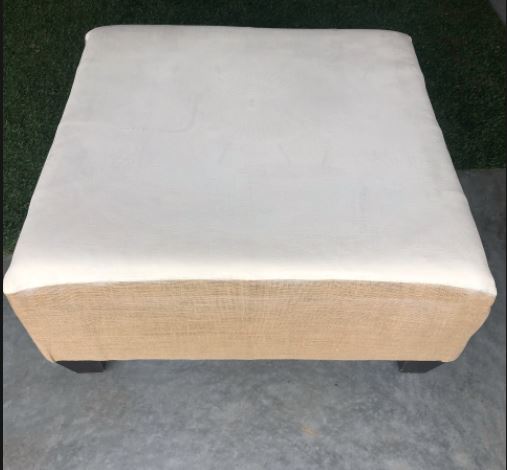
After four coats total doing this process, I could still see a faint image of the pattern. I added the final coat and that did it. I also thought the brown of the burlap was too light and I had accidentally hit it a little with the spray paint. So, I protected my top newly painted section and lightly sprayed the sides with a gray spray paint. After the final sanding the top felt smooth like leather but I was concerned about it being cleanable if something spilled on it. So, I rubbed on a polyurethane satin finish with a cloth.
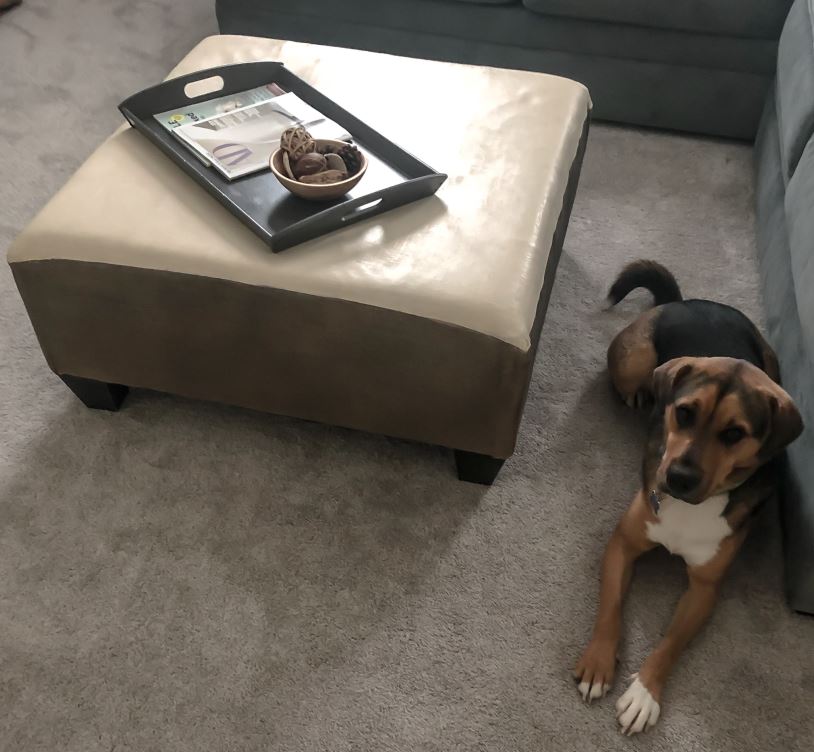
That’s it! We are happy with it…even Cooper posed for the picture. Now will be the chance to see how it holds up over time but the neutral look works much better in the room and I spent very little money to make this happen. Good luck to you trying out a project with this technique!